ElasticSearch是一个采用Java语言编写搜索服务器,提供了一个分布式多用户的全文搜索引擎,能够达到实时搜索,稳定,可靠,快速,安装使用方便。
环境说明
Centos7
必须能连接互联网
[root@localhost ~]# cat /etc/redhat-release
CentOS Linux release 7.7.1908 (Core)
Xshell
用来连接Centos主机. 没有的话直接用系统自带的SSH也可以。
安装ElasticSearch
前置任务 (雾)
由于es不支持以root用户运行,所以需要创建一个普通用户
[root@localhost ~]# useradd elasticuser在自己喜欢的目录创建一个es的下载文件夹. 我选择/usr/es
[root@localhost ~]# mkdir -p /usr/es因为是用root用户创建的文件夹, elasticuser用户没有权限,所以要更改文件夹的权限
[root@localhost usr]# chown elasticuser:elasticuser es/ -R切换成elasticuser用户进行下面的操作
[root@localhost usr]# su elasticuser
[elasticuser@localhost usr]$ whoami
elasticuser
准备任务 (大雾)
下载es
[elasticuser@localhost usr]$ cd es
[elasticuser@localhost es]$ wget https://artifacts.elastic.co/downloads/elasticsearch/elasticsearch-7.6.0-linux-x86_64.tar.gz
解压
[elasticuser@localhost es]$ ls
elasticsearch-7.6.0-linux-x86_64.tar.gz
[elasticuser@localhost es]$ tar zxvf elasticsearch-7.6.0-linux-x86_64.tar.gz
修改配置文件
config/jvm.options(非必须, 目的是调整内存占用少一些)
-Xms512m
-Xmx512mconfig/elasticsearch.yml(重要, 调整不好会导致ElasticSearch启动失败)
不要直接复制粘贴, yml格式不允许写注释.
network.host: 0.0.0.0                        // 修改完毕后可以外网访问
cluster.name: "centos-cluster"               // 不改就启动起来提示Warning
node.name: "node-1"                          // 不改就启动起来提示Warning
discovery.seed_hosts: ["127.0.0.1", "[::1]"] // 不改就启动起来提示Warning
cluster.initial_master_nodes: ["node-1"] // 不改就启动起来提示Warning尝试启动ElasticSearch.
[elasticuser@localhost elasticsearch-7.6.0]$ ./bin/elasticsearch不失众望的报错了, 查看一下报错:
解决错误 ([1])
遇到错误不慌, 一个个解决,首先是第一个
[1]: max file descriptors [4096] for elasticsearch process is too low, increase to at least [65535]更改/etc/security/limits.conf, 这个时候要使用root用户更改, 写入以下内容
* soft nofile 65535
* hard nofile 65535
写完是这样的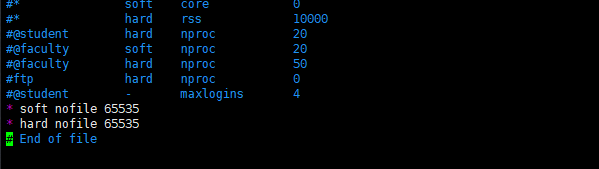
接着重启一下服务器. 继续解决下一个bug.
解决错误 ([2])
重启完, 先看看第一个错误解决了没有
[root@localhost ~]# ulimit -Hn
65535
[root@localhost ~]# ulimit -Sn
65535发现两个返回都是65535,就证明修改生效了。
然后看下一个报错
[2]: max virtual memory areas vm.max_map_count [65530] is too low, increase to at least [262144]修改/etc/sysctl.conf, 添加
vm.max_map_count=262144保存退出 并 执行
[root@localhost bin]# sysctl -p
vm.max_map_count = 262144再切换成elasticuser用户, 去运行es.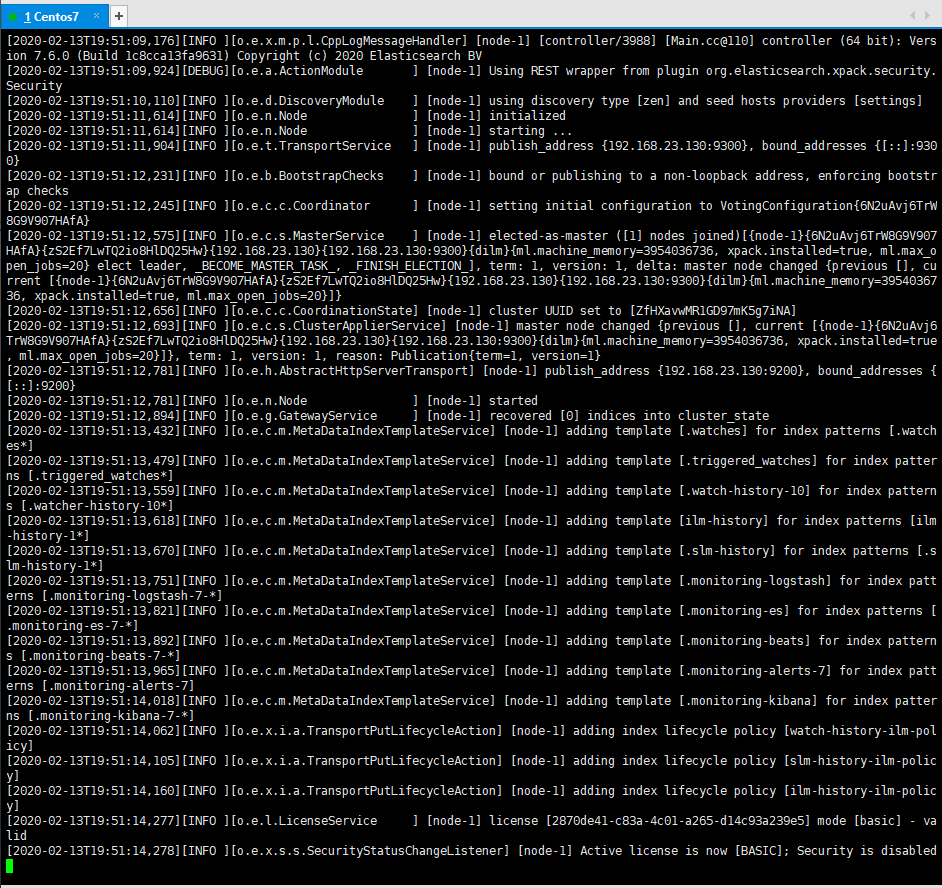
可以看到运行成功了, 使用浏览器去访问http://<centos的IP地址>:9200
emm 无法访问…
因为Centos默认开启了防火墙. 可以直接关闭防火墙 (启停服务需要root用户)
[root@localhost bin]$ systemctl stop firewalld.service再重新运行es.
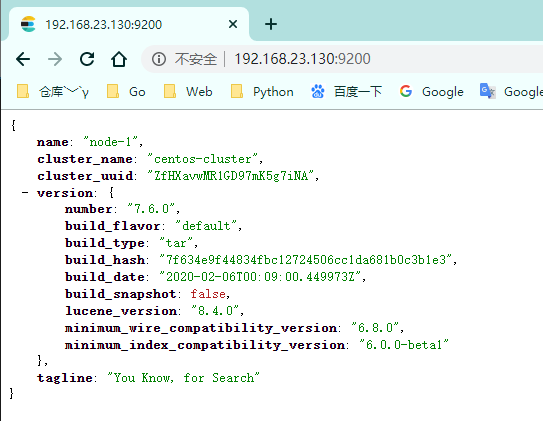
ok, 安装完毕, 接下来就可以正常学习和使用ElasticSearch了。
就这样!